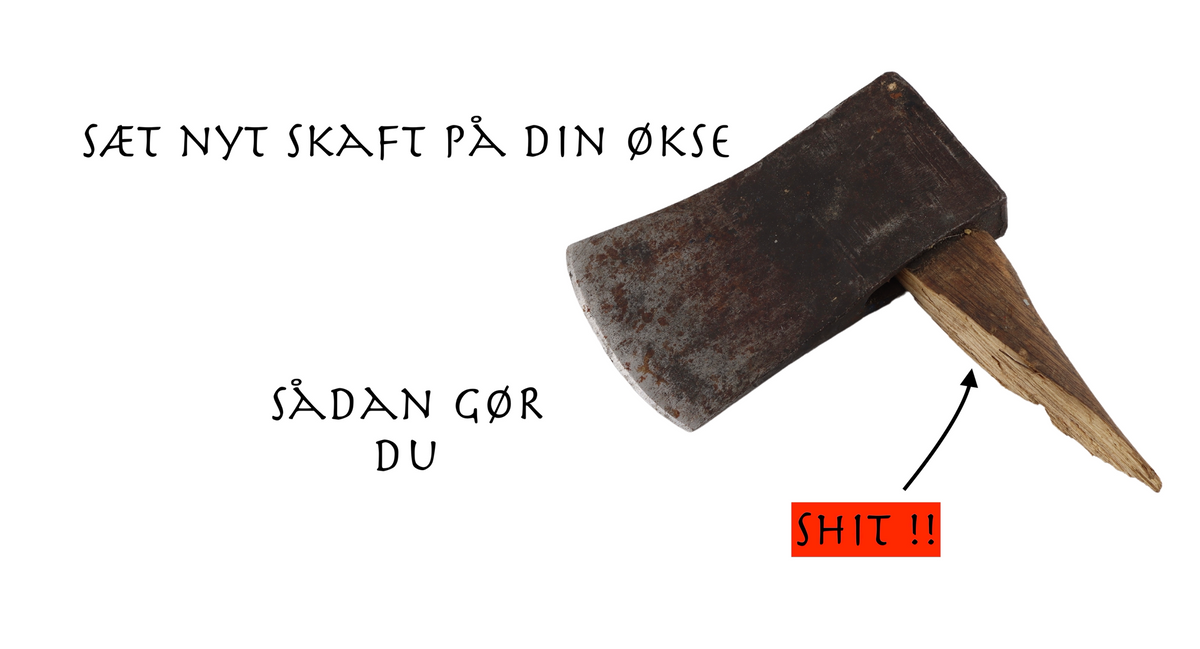
Replace the axe handle on your axe - The big how-to guide
|
|
Time to read 9 min
|
|
Time to read 9 min
How do I put a new handle on my axe?
Or as it is traditionally called, to “hang an axe.”
First and foremost, it must be noted that fewer people replace axe handles, which used to be a very common thing.
Over the years, there have been fewer places to buy axe handles, but fortunately, it is still possible if you know where to look.
Many people simply choose to buy a new axe if their old one has become too rusty, has a broken handle, or similar. This “use and throw away culture” unfortunately often results in many choosing to buy a cheaper but also lower-quality axe. This is then reflected in the selection of axes in stores.
Unfortunately, the buyer deprives themselves of a good experience, and the axe ends up being downgraded to a rusty and primitive smashing tool.
The axe is a precision tool and a capable instrument that can perform countless tasks—if it is of a certain quality and you take care of it.
Few people take on making their own handles, which is certainly an option if you have the courage and some skill.
When you hang your own axe, you will definitely feel a much stronger ownership of your axe. You will likely be less inclined to leave it out in the rain and take better care of it.
Enough about all this, let’s get started with the practical part.
Step 1:
First and foremost, you need to remove the remains of the old handle from the axe head.
If you get the idea to burn the handle out of the axe head, forget about it! You will ruin the axe head’s hardening.
First remove any round/ring wedges. This is best done with a drill and pliers.
Removing the handle itself: The best and simplest solution is to drill out the wooden wedge.
Drill holes in a row where the wedge is located.
Finally, the handle will become loose and can be removed.
Use a metal drill bit that leaves about 3-5mm of wood out to the axe head’s “eye” on each side.
Be careful not to drill into the axe head itself!
This can later make fitting the new handle difficult. Likewise, it can create “pockets” where moisture and rust can accumulate.
Remove any Residue inside the axe head's eye.
Now you have a loose axe head and maybe some rust removal or other renovation is needed. More on this will come in a later post.
To keep it short and simple in this text, you need to get a steel brush for a drill and some WD40 spray.
If you don't have any of the above available, you can also use vinegar and sandpaper/steel brush. Use clear vinegar from your supermarket and sandpaper grit 180-240.
If you use coarser sandpaper, be prepared to spend more time on your sanding work.
It will require several sandpaper grits to remove scratches from the previous grit sizes.
Rust damage can occur on several levels, so different types of interventions may be needed. As mentioned, more on this will come in later posts.
Buy or make a handle?
Whether you buy or make your own handle, the goal should be that you end up with a handle that meets the following list of criteria:
Good grain orientation. The grain should run parallel to the axe head; a slight angle can be okay, especially if it is a shorter handle.
A handle that fits, or is very close to fitting the eye of the axe head. It can be a bit too large, but forget about trying to make a handle that is too small fit with large wedges!!!
Dry and knot-free wood is a given!
That was the list of the most important elements, but in addition, there are some other things you can advantageously keep an eye on:
If you choose to buy your handle, you might find that it is varnished.
A varnished handle is by no means preferable; it will definitely cause blisters if you use the axe for a longer time.
Remove the varnish with sandpaper or a scraper. This is easiest to do before you hang the axe.
Sapwood and heartwood/corewood You don't need to be afraid of two-colored handle wood.
It just indicates that the handle is taken from the area between the outer/new parts of the wood (the light ones) and the darker inner part of the trunk. "The dead part."
The two parts of the wood have very different characteristics, but studies (USDA Forest Products Laboratories) have shown that this does not affect the strength of the handle.
This is purely an aesthetic aspect, so the choice regarding this only depends on your preferences.
If you know you will leave your handles outside, it can be an advantage to choose the darker heartwood, as it is naturally more resistant to decay.
Few or no grain runouts. When you can see that the grain ends in triangles on the handle.
This shows that the grain is cut across, which increases the risk of the handle breaking under shock impact.
An axe head that is aligned?
When the axe’s edge is placed on a table, the center of the edge to a point just below should be aligned with the end of the grip.
This affects the axe’s performance and your experience using the axe.
Also look down along the handle from the end of the grip, is the edge aligned with your handle?
Let’s get started… What do you need?
What now?….
I have to repeat one word, the word you should keep in mind is: Patience, patience, patience…
You don’t need a lot of skills to hang an axe, but one important thing is, as mentioned, patience.
Now clamp the axe handle in a vise, preferably with soft protective jaws to avoid damaging the handle.
In this context, it can be a very good idea to support the axe handle on the floor with a block. This way, the handle cannot slide downward, preventing scratches/marks on the handle.
If you have made your own handle, now is the time to saw the saw cut for the wedge.
Remember in this context that the saw cut should not be made deeper into the handle than what the axe will fill on the handle.
You do not want the wedge to be visible on the underside of the axe! The axe will have a weak point and visually it does not look good.
Back to the handle itself…
The more time you spend fitting the handle to the hole in the axe head, the better the final result will be.
Many new axes have a relatively full/thick handle, which is not necessary at all.
If you practice, take care of your handle, and don’t use it as a crowbar, you will eventually discover the benefits of a slim handle.
The heavier handles can be attributed to the fact that modern users do not have the same skills as in the past. Newer handles are designed to better withstand shocks and people who might misuse an axe.
Choose a handle that proportionally fits your axe head and axe type!
An axe handle should ideally “fit” into the axe head, with the same thickness as the eye in the axe head.
If there is too much difference in thickness, it just creates a weak point.
If the axe head just slips on without problems, it could indicate that it has become too loose.
When fitting the handle, a little trick could be to “paint” the inside of the eye with a soft pencil.
The graphite rubs off when you take the axe head on and off, so you can see on the handle where you need to remove more.
Now use your file or rasp, or possibly a carving knife.
Where the handle is marked gray, remove very little material at a time.
This is where you need to be patient, it may be necessary to take the head on and off many times, before it fits.
Slowly the head moves further and further down the handle until it almost fits perfectly.
Now comes the part that may seem a bit counterintuitive.
The axe is taken out of the vise and the axe is held upside down, so the head faces the floor.
The axe head should now be tight enough that the head stays on!
Now strike the end of the handle and with each blow the head creeps up the handle, until it “sets”. It is important to use the plastic hammer as it is gentler on the handle.
If you have done your work properly, this moment is a fantastic feeling. The head sits pretty well, even without the wedge.
There may be some wood shavings just under the axe head, which is okay. As long as they are not too large.
The wedge should not be underestimated. Like the other parts of the process, it must also be done properly for a good result.
-The wedge is cut so the grain runs lengthwise along the wedge.
The wedge must be cut to fit the width before it is inserted into the saw cut.
-The wedge must not be longer than the depth of the saw cut, and must be exactly thick enough to fill the saw cut.
-If the wedge is too long, it can split the handle under the axe head!!!
Otherwise, all your work will be wasted!
It’s an advantage if your wedge is smooth and not rough!
If you cut your own wedge, smooth it with a knife or sand it down with sandpaper.
The wedge should be slightly thicker than the saw cut, but don’t try to force a wedge that’s too thick in by brute force.
Now turn everything over again. Place a block on the floor and set the axe on it with the grip facing it.
Before driving the wedge in, pour some linseed oil into the saw cut. This will harden later and keep the handle and wedge tight together!
Now drive the wedge in with your plastic/wooden hammer. Keep the hammer parallel to the axe head and focus. Don’t strike the wedge at an angle!
The entire wedge doesn’t necessarily have to disappear.
If the wedge starts to break out sideways like a sponge, it won’t go any further!
When the wedge won’t go any further, you’re very close to the goal.
Some prefer to cut off excess handle and wedge remnants.
Others leave it as is, giving you the option to drive the wedge further in later.
Of course, aesthetics are important, but remember the axe is primarily a practical tool.
Finish by oiling the end grain with linseed oil, preferably with added drying agent (boiled linseed oil) as it hardens faster!
It’s good to oil the handle with several thin layers; this protects the handle from drying out and cracking.
Most of all, it is the end grain that benefits from being oiled. Soak the axe ends if you like, that’s where the wood absorbs the most!
In modern production, many axe manufacturers drive steel wedges/steel wedges over the wooden wedge. However, I believe this is unnecessary, and aesthetically I don’t like the look of these wedges. Simply put, they are unnecessary; there’s no need to be overly cautious if the work has been done properly.
Now you have hung your axe.
Rarely does anyone succeed perfectly on their very first try, don’t despair and try again.
Remember you can always find lots of great axes and accessories at Survivalstore
Good luck.


